Introduction
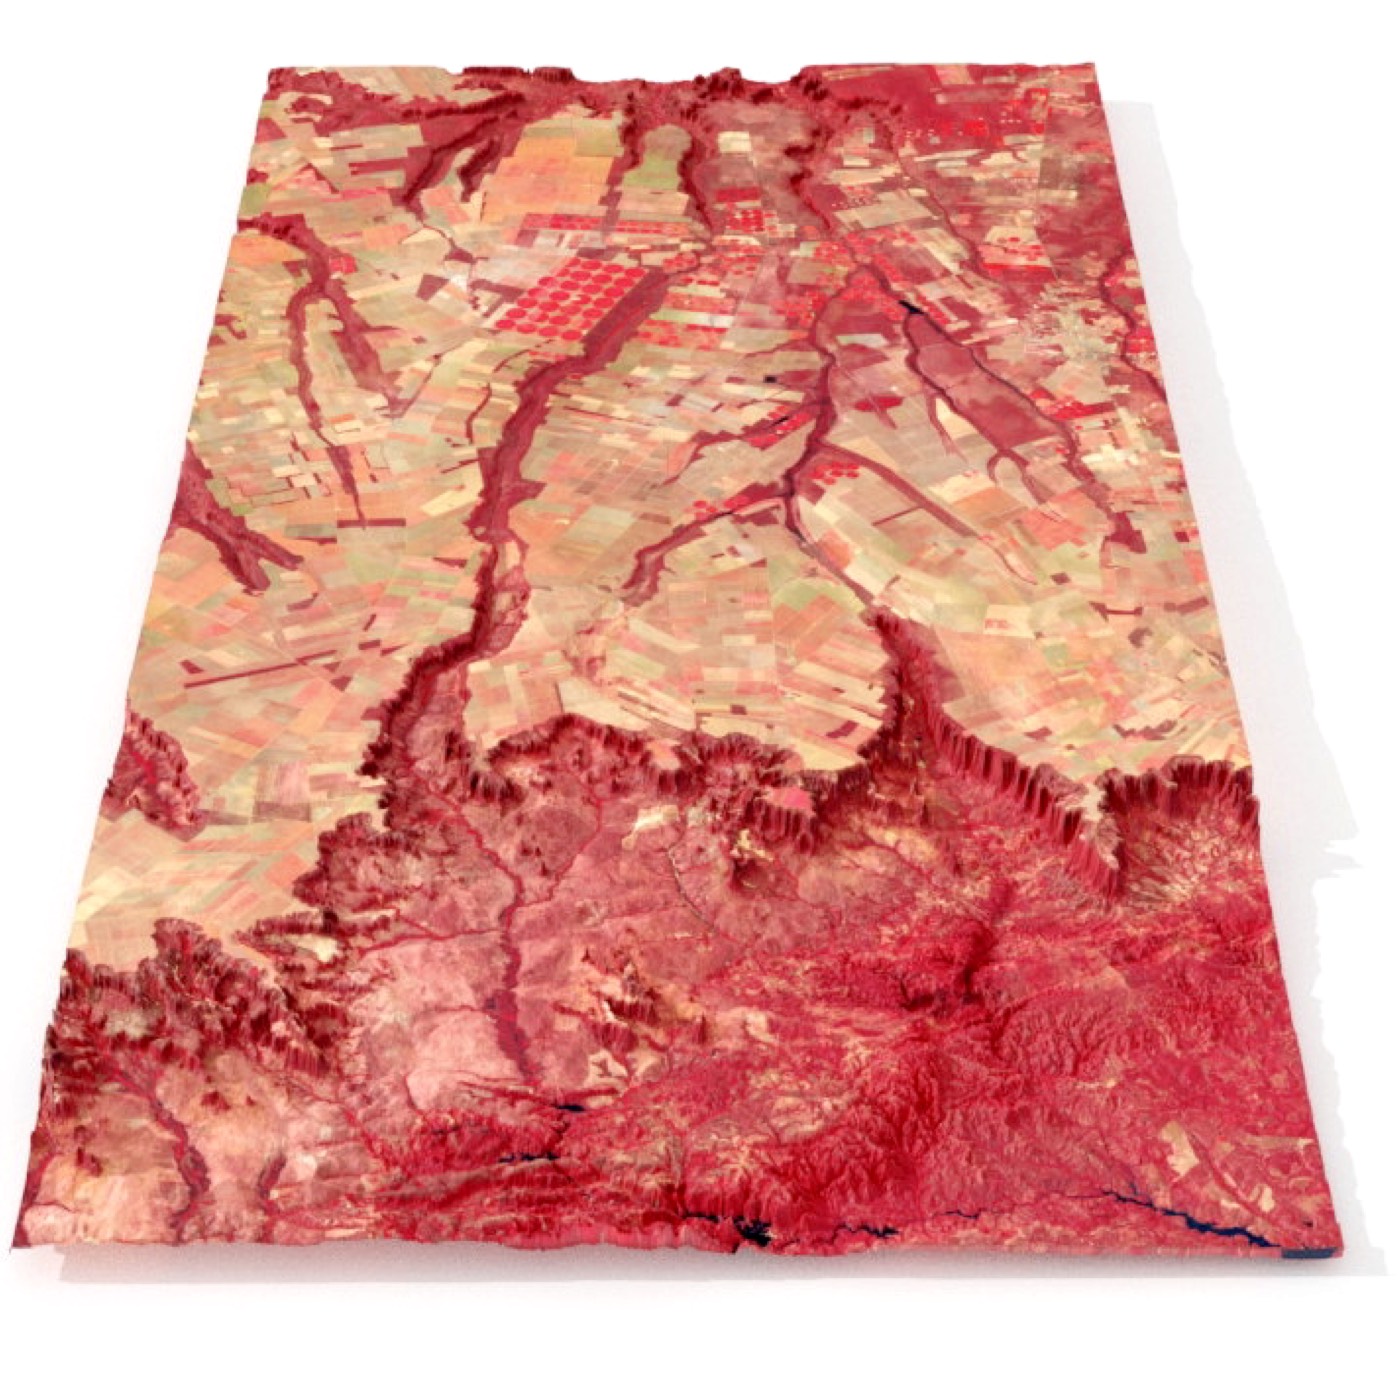
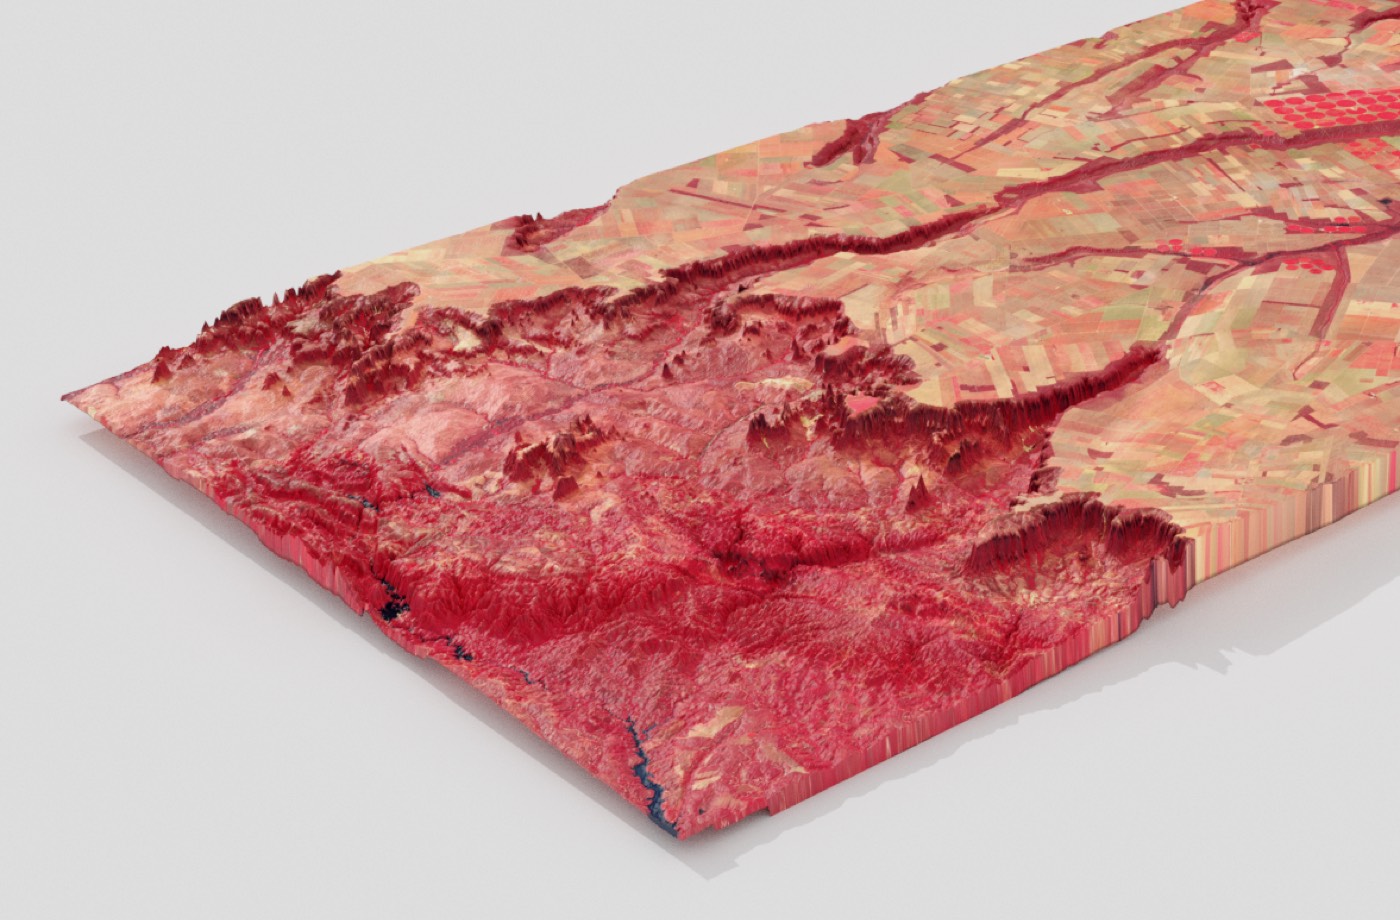
Through this tutorial, we will create a three-dimensional view of the place in the world you want. In a few simple steps we will obtain high quality satellite images of the place you indicate and then import them into the Blender file, obtaining an incredible three-dimensional representation.

For this type of visualization, the usual thing is to distort the elevation of the terrain so that it is distinguishable. When you reduce it, the surface of the earth is less rough than it appears. So we can choose the degree of distortion we want to make it equally suitable for a mountain or a small cliff.
How to do it
We have prepared a series of free resources and free software to make this process as fast, simple and accessible as possible. We have reduced the process to these 6 steps:
- Download and install Blender
- Download the Blender templates file
- Get the location coordinates
- Generate the location images
- Bring your images to the Blender 3D model
- Render an image, video, or use the 3D model
The first two steps don’t even need an explanation. So we can skip to step three!
Getting the location images
To get the images, we will first need the coordinates of our place of interest. To do this, we will use geojson.io, a quick, simple tool for creating, viewing, and sharing maps.
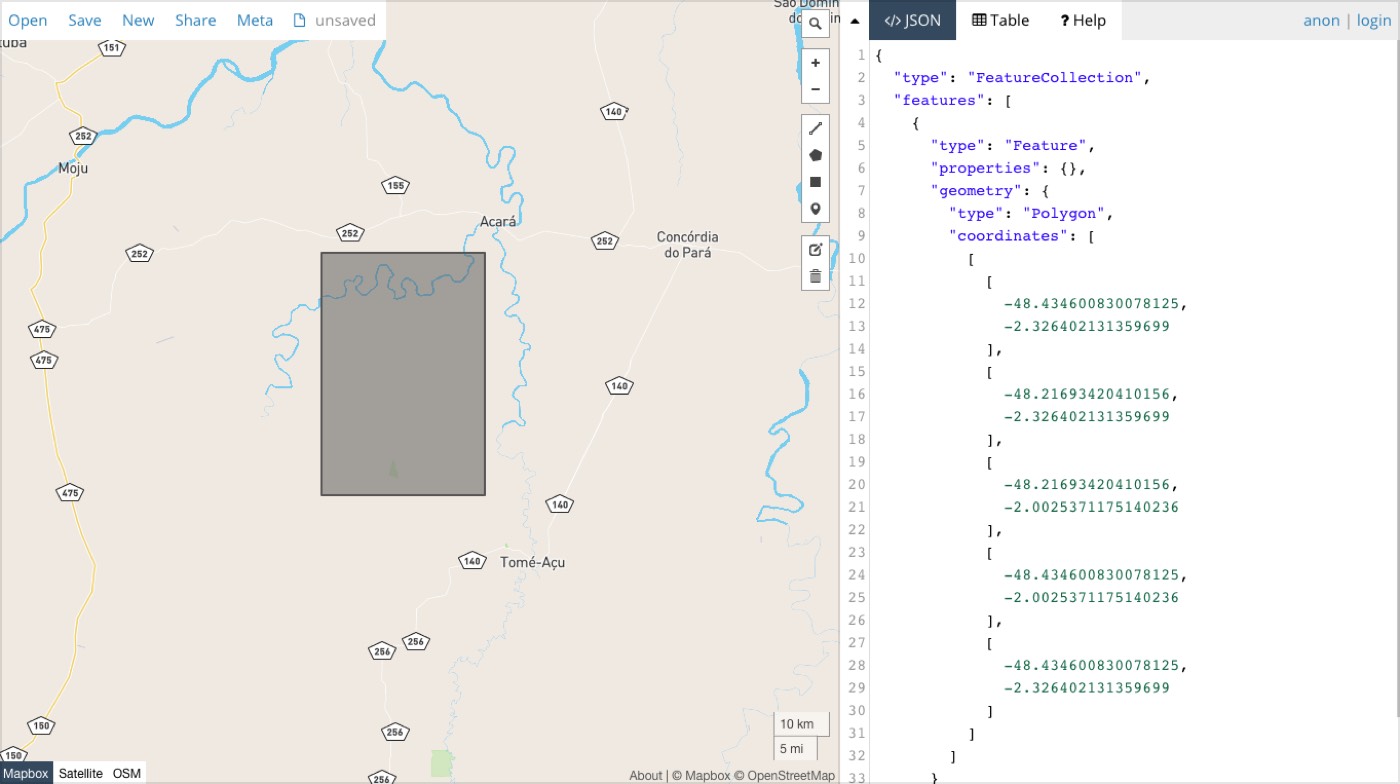
Simply draw a box over the area, and copy the coordinates that you will see in the sidebar. We will use them in the next step.
Generating the location images
We’ve prepared a Google Colab document to extract different aerial images and import them into a folder within your Google Drive account.
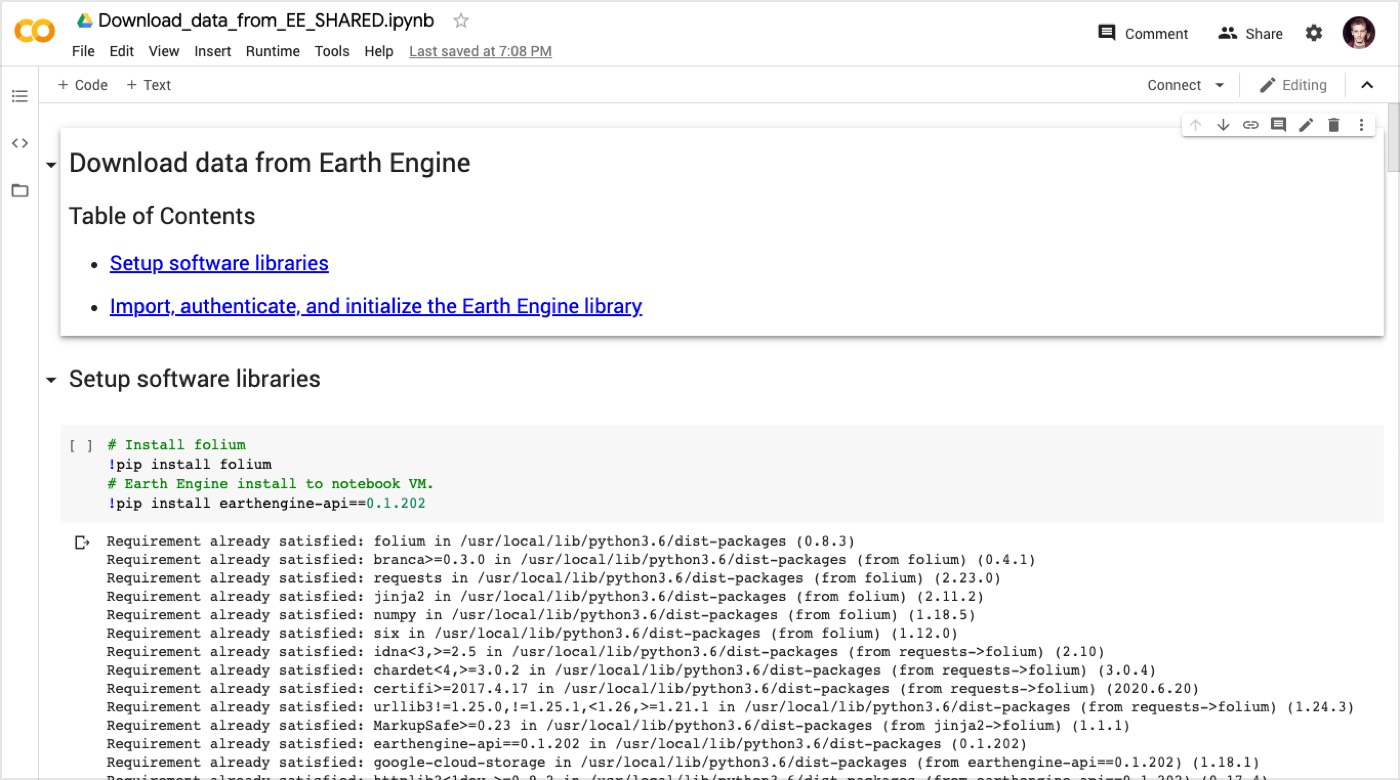
Follow the steps indicated in the document. You will need to provide a token to enable access to your Drive to save the images when requested. You will also have to paste the coordinates from the previous step, replacing the ones in the document. Finally you can choose a new folder or use the default one.
Depending on the size of the terrain, these images may take several minutes to generate. So don’t worry if you don’t see them in your Drive folder immediately.
Generating your 3D model
Install Blender (in case you haven’t done it already) and open the model that we will use as a template. We’ll replace the images used in that model with the new ones we got in the previous step. If you have image editing software, it is recommended to reduce the size of these images to obtain a better performance manipulating the 3D model in Blender.
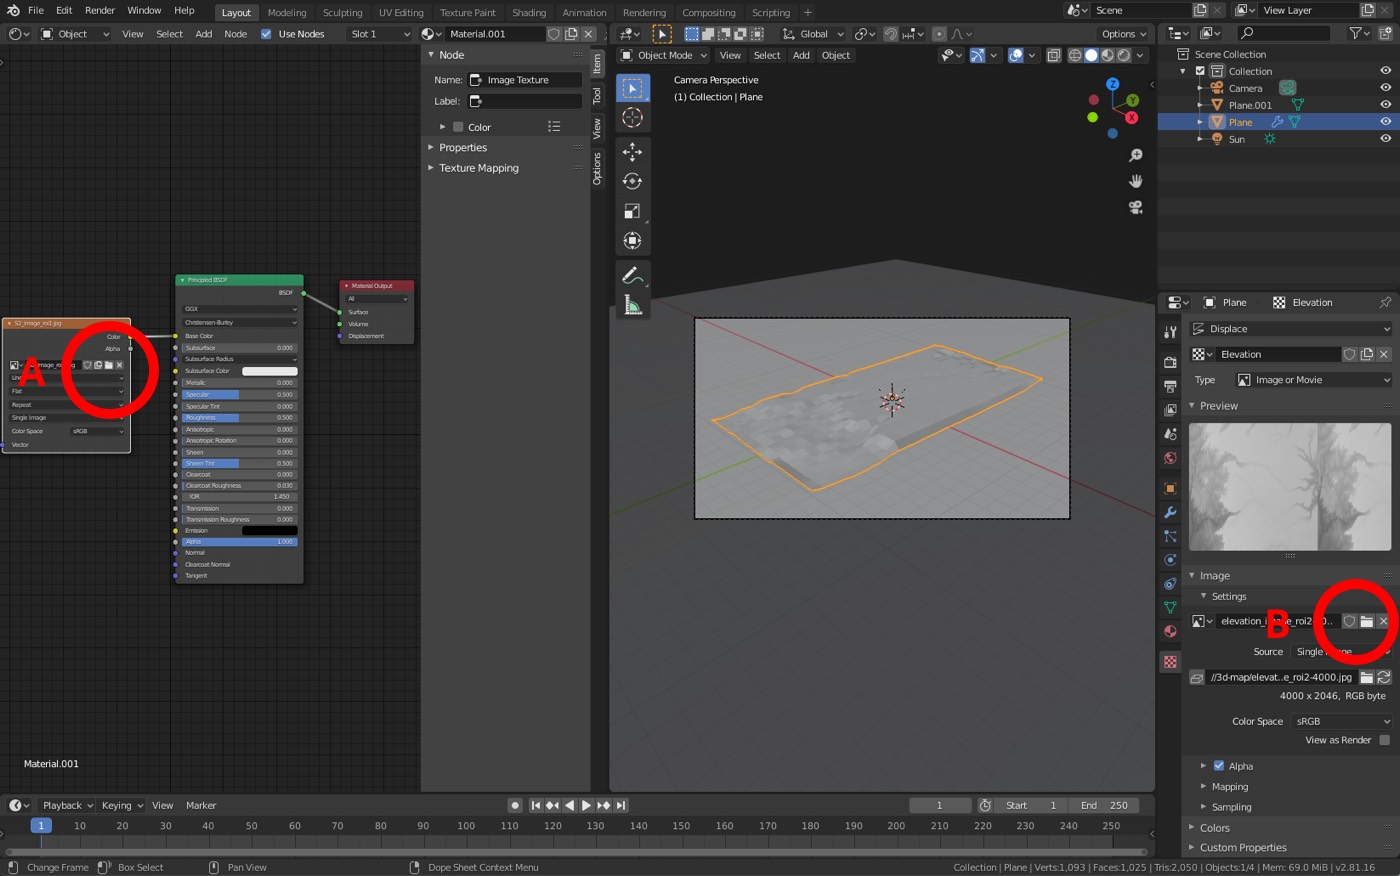
We will simply need to replace two images from the following two locations:
- Select the texture layer
- Select the elevation map image
If you need to adapt the proportions of the plane, we will select it in the following way:
- Click on the drawing to select it.
- Press “S” to change the scale, and “X” or “Y” to restrict the change to one of these two axes.
- Press “Enter” to apply the change.
- Repeat steps 2 and 3 if necessary.
And it’s all set! You can render the scene and get the image from the camera position. Feel free to modify its position, or even create a video as if a drone were flying over the terrain.

Blender is a great free program under open source license. The internet is full of free tutorials in case you want to learn more and expand the possibilities of this introductory tutorial.
